What You Need to Know to Hang Your Cabinets
By Ryan Horvath
Blocking for cabinets is the smartest thing you can do for a kitchen renovation. When installed properly, blocking gives you the peace of mind in your cabinets. This week’s blog is covering why blocking is important and how to do it along with some extra tips.
Plan and Design Before You Demo

SAFE AND SECURE
Blocking is an added safety feature. Your wall cabinets fill up with your plates and glassware. This causes your cabinets to become heavy. Imagine your child climbing up on the cabinets to grab their favorite cup. They’re using the cabinets to pull themselves up and for balance. Your child can pull the cabinet down if it’s only mounted to the drywall. Over time, the screws used to secure to the drywall can become loose as well. Heavy or not, a loose cabinet is a dangerous cabinet. By using blocking, you can secure heavy cabinets to the wall.
BLOCKING FOR CABINETS
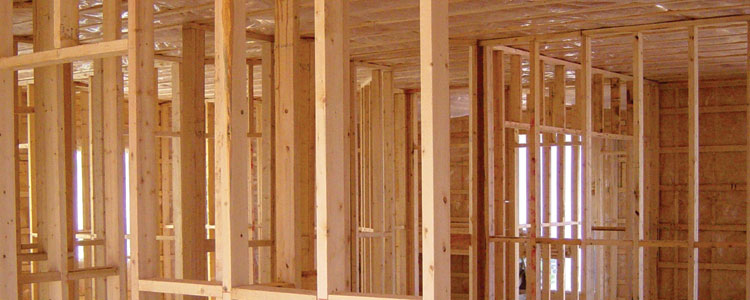
To block, there are two different methods you can use. They are continuous run blocking and ladder blocking. Use continuous run blocking if you have the same size cabinets along a long wall. Notch out the framing to account for the thickness of the blocking. Some experts suggest using ¾” thick plywood cut to 6″ wide strips. Personally, I’m not a fan of that. For a continuous run, I would rather have a long 2″ x 6″ for the length of the cabinet run. The thicker lumber gives the screw more “bite” and secures the cabinets better.
Ladder blocking is easy to do. It’s the perfect method if your cabinets are in different sizes. You can also use it if you’re not a fan of notching out your framing. Follow the steps below for wall cabinets.
- Align the top of a 2″ x 6″ block with the top of the cabinet.
- Secure by nailing through the studs and into the block.
- Align a second 2″ x 6″ block for the bottom part of the cabinet. Make sure that the bottom of the block and cabinet are in line.
- Align 2″ x 8″ blocks next to the 2″ x 6″ blocks. Once the larger block is slightly over the smaller block, secure with nails.
- Once you finish blocking, install your cabinets.
Repeat these steps for secure base cabinets, but only for the top part of the cabinet. An example of ladder blocking is below.
An Example of Ladder Blocking

CABINET BLOCKING: THE WRAP-UP
Blocking for cabinets is a must for your kitchen renovation project. If you have metal framing, use framing lumber for your blocking. Do not use metal framing for your blocking. If your blocking goes over pipes or electrical, install nail plates. These will protect pipes and wiring from a nail or screw damaging them. Install them on the front of your blocking. If your cabinets are against an exterior wall, install blocking before insulating. My final tip is to leave 15-18″ between the bottom of the wall cabinets and the top of your counter. For other measurements around your kitchen, check out “Your Home by the Numbers” article. You can read that by clicking here.
If you have a question or comment, leave it in the comment section.
To subscribe to the weekly Choice Cabinet blog, please click on the button below.