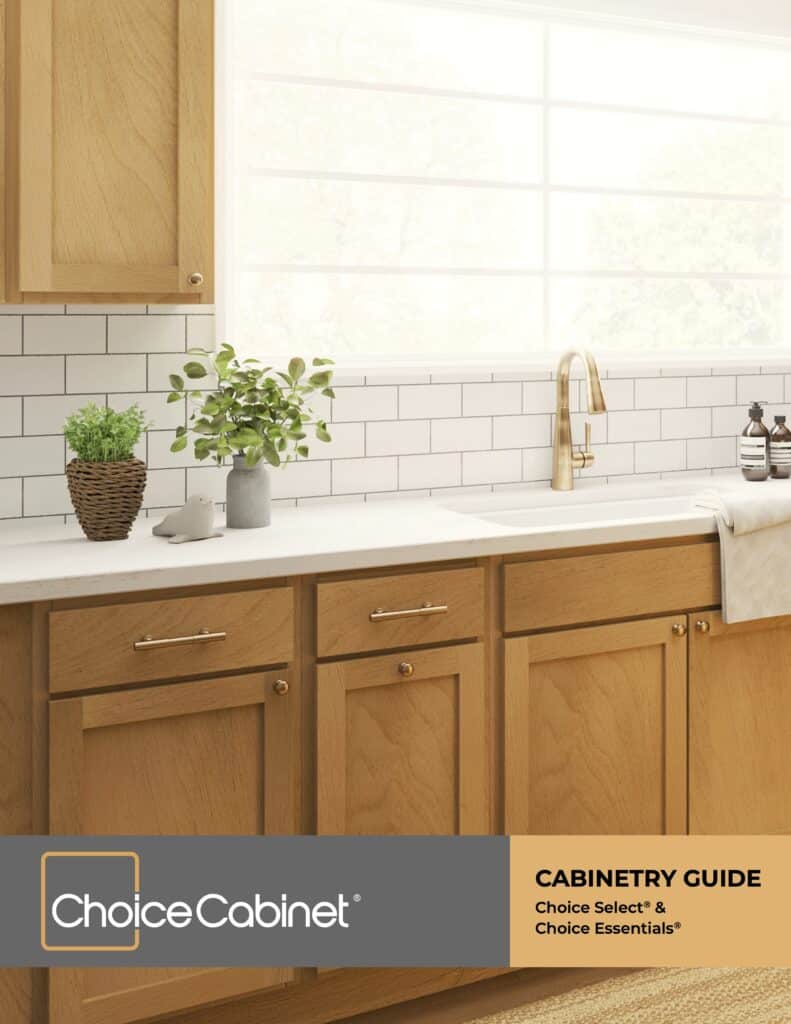
RTA kitchen cabinets come in pieces. And they are more commonly known as ready-to-assemble cabinets. This is because the buyer has the sole responsibility of fixing the pieces together.
While they come in pieces, they have several benefits why customers chose them over their counterpart – assembled cabinets. Usually, there are no extra shipping costs when you order RTA cabinets via an online store such as the RTA store. And that makes them ideal if you want to try a kitchen remodel.
Installing kitchen cabinets can be quite daunting and intimidating, especially if you are a beginner. But with this article, we will walk you through a simple guide to help you fully secure your cabinets in moments.
Installing RTA cabinets
To start installing your cabinetry, you need to get all the right tools ready. While your ready-to-assemble cabinets may come with some basic tools, you are likely going to need additional tools during the placement process.
So here is everything you need to properly assemble RTA cabinets like a pro.
What you’ll need to install RTA cabinets
- Cordless drill. When installing your kitchen cabinet, you will need to pre-drill holes, this is where you apply a cordless drill. You can as well use them to insert other fasteners such as screws into your cabinet
- Hammer. A hammer helps you drive nails into the cabinet and walls. You can also use them to remove ledger boards when you are done installing your cabinets.
- Pencil. Pencils are useful during your measuring process. They help you mark out measurements on the wall. They are recommended for this purpose because they are easy to remove from surfaces
- Clamps. You can’t install kitchen cabinets without clamps. Clamps serve as support during cabinet installation. While securing, assembling, or cutting your RTA cabinets, clamps help keep pieces of wood together. Moreover, you get your hands free to do other things
- Tape measure. This tool helps you measure your cabinet’s height, the wall, and other measuring needs you will have during the entire installation process
- stud finder. To install kitchen cabinets you need a stud finder. Studs are used to anchor wall cabinets during installation. And because RTA cabinets are usually heavy, you will have a hard time trying to find them. Stud finders help you locate wall studs in no time. Once you have identified the location of the studs, you can then install your kitchen cabinet easily
- workbench and Circular saw. A workbench and a circular saw are usually used in cases where there’s a need to cut toe-kick trim boards or pieces of wood
- finishing nails or Screws. Depending on what your preferences are, a finishing nail can be used in place of screws and vice versa. During the cabinet assembly, these tools are used as fasteners to assemble the pieces of the cabinet together
- ledger board. Once you’re ready to install your wall cabinets, you will need smaller boards to help hold them up. These boards are called ledger boards and are tightly screwed into the walls for this purpose
- Laser Level. While installing your RTA cabinet fittings, there’s every chance you might encounter leveling issues due to an uneven floor base. This is important especially if you intend to have counters. A laser level will help you overcome this challenge as it’s well useful for leveling out a floor surface. Hence, for installing floor cabinets use a laser level to achieve the desired flat surface on your cabinet plane
- 4 or 6 Level. To properly align your cabinet, you need a 4 or 6-foot level. This will help you achieve the right spanning gaps between your floor cabinet and the countertop or even other areas such as the sink
The step by step process
Step 1: Create Your Measurements
Before ordering your RTA cabinets, you need to figure out what the right size would be for your space. It’s best if you are familiar with your kitchen layout.
If you are redesigning an old kitchen, you might not necessarily need to figure out the layout, since you are just replacing the old cabinets. However, if the redesign is for a new kitchen space, you will need to properly take measurements before you can order an RTA cabinet.
Next is to ascertain the width and height of your new cabinets. To do this, decide if you want a toe kick space at the base of your floor cabinet or not. Ideally, having a toe kick space allows you to stand comfortably near the countertop.
Now that you are remodeling towards having a toe kick space, you will have to get your base cabinet ready. Typically most bases have a standard measurement of 3 inches deep and 3.5 to 4 inches in height. However, depending on how much space you want between the base cabinet and the countertop, you might want to customize yours above or below the standard measurement.
Additionally, try to take note of spots with electrical cutouts as you wouldn’t want to cover these areas during your fixing.
Once you are done planning and measuring the right places, let your ready-to-assemble retailer work with your measurements in picking the perfect cabinetry arrangement.
Step 2: Tidy up and Set the Installation Area
Before you start your installation process, you need to tidy up the whole area. First remove specks of dirt, ruins, and any liquid drops present on the floor where you intend to install the cabinets. Once the placement area is clean, you can start setting up for installation.
Assemble your tools just the way you will need them during the design. Although RTA cabinets usually come with ready-to-use tools such as screws, 4-ft level, and clamps, you might still need more supporting tools to carry on. Some of these supporting tools are a cordless drill, pencil, clamps, and ledger board.
Step 3: Assemble and Install the Cabinets
Once your cabinets arrive, you need to assemble the pieces together. First, start by assembling the cabinet box. Ensure to put protective plastic over your new cabinets to avoid scratches. Next, apply wood glue over the vertical joints and fasten with screws to hold the parts together.
Make sure all the cabinets, excluding the edge, shelves, and doors follow the same process as documented in the assembly booklet as it’s common with most brands to provide one. The doors and shelves are better installed later after every other step has been completed.
If during the assembly of your cabinet boxes, you still feel stuck at any point, you can consider using online video tutorials relevant to the model of your RTA cabinet. Alternatively, you can reach your cabinet wholesaler to provide you with a guide illustrating each step of the fitting process in drawings.
Also, if you feel the need for a second hand to help you assemble the boxes together, do not hesitate to get someone.
Step 4: Secure the Wall Cabinets
It’s best if you hang wall cabinets first before your base cabinets. They make it easier for lifting and holding other cabinets during fastening and adjustment.
Generally, to begin securing, ascertain the cabinet layout and start with the corner cabinets. Next, locate your wall studs using a stud sensor. And with a pencil, mark spots on the walls before drilling.
While setting the upper cabinets on a ledger board, gradually drill them into the wall. Meanwhile, ensure the floors and ceilings are leveled before completely screwing in the cabinets. However, if they are not, use a shim and make the needed adjustments.
Now it’s time to start screwing the next wall cabinet. You need to slowly screw the adjacent cabinets to the corner cabinet, before properly securing them with clamps.
The remaining hanging cabinets should follow the same method until they are all fully secured. To ensure they are uniformly spanned, use a level or apply your natural intuition to determine that.
Step 5: Install the Base Cabinets
Installing base cabinets doesn’t require much of your time. First, start with the corner cabinet. Check if the walls are leveled, If not use a shim and make them level. Next, create a pre-drill hole and begin to set the first cabinet in place. After securing the base cabinets, check if there’s a need for further adjustments or not.
Using the same method, set the next cabinet in place and continue in the same manner till all the RTA cabinets are properly installed. Also, maintain uniformity between the cabinets after securing them.
Step 6: Final Touches with Trims and Doors
This is the last part where you finish up the work. Assemble the toe kick boards and set them in place. If they are not of the right size, cut them to size and nail them into the kitchen cabinets.
However, when you are using a wood toe kick, you are likely to encounter wood splitting in your fixings. To reduce the possibility of this, drill a shallow hole inside your toe kick before setting it in place.
Moreover, ensure there are no gaps between the floor and the toe space. If possible use pieces of trim or a base shoe to prevent gaps. And from time to time, double-check for evenness between cabinets as this can cause consistent reoccurrence of gaps.
Next start joining all the parts; doors, drawers, moldings, and trimmings to their slides and hinges.
Conclusion
Installing your RTA kitchen cabinet is easy once you have a detailed guide like the one we’ve created here. Start by first assembling your cabinet boxes. Ensure each cabinet frame is well-covered with plastic before fixing.
Gradually move to secure the upper corner first before the base cabinets. Always remember to shim for complete evenness. And finally add the door, drawer, and other fixings. Now you have a fully secured cabinet.