The kitchen space is one of the most cluttered spaces for a lot of houses. Even worse, when there is a space limitation. Pull-out pantries and cabinet organizations can declutter and turn empty spaces into useful, organized storage for utensils and kitchen supplies.
How To Organize A Pull Out Pantry
-
Declutter
When trying to keep a kitchen organized, the biggest mistake is allowing things that you never use to take up your precious space and keep piling up. Go through everything in the cupboards and throw out anything that has expired. Next, look at any products left and give away what you are less likely to use. Repeat the decluttering process after every three months.
-
Create A Plan And Stick To It
Take a look at all the items left after decluttering and similar group things. For instance, put larger canned items together, smaller ones in another, then do the same to the boxed items. Assign each of the combinations their specific shelves, then stick and account to the system you decide. It always helps to rev a shelf since the items will be organized and out of your way when you do not need them.
How tall the items are should determine the depth of the shelves you require. The taller the things, the deeper the shelves should be: this ensures that the taller items have enough support and won’t topple over once the shelf is pulled out. Using soft-close slides also provides stability for a pull-out cabinet or shelf, thus reducing accidents.
-
Add Storage Containers
Adding containers or bins to your provides you with divisions to eliminate guesswork on where everything belongs. Clear containers are specifically effective and inexpensive. The containers take up less space and keep contents fresher than their original packaging; additionally, you can easily monitor when the contents are running out. Allocate a container to each (snacks, chips, pasta, and granola bars, etc.). Separate any solid such as margarine from cereals like rice and any syrup, e.g., maple syrup, into containers that suit their specific forms.
Use plastic storage boxes or cabinet organizers to hold the food items in their packages. Decant items such as oatmeal, granola bars, tea bags, etc., into clear bin dividers. Getting uniform container sets also easily adds up as to your accessories: the uniformity is pleasing to the eye.
-
Labels
Finally, invest in labels. Labels give anyone using the kitchen a much easier time and make the containers look great and complete. Chalkboard labels are an amazing labeling option since you can easily erase and change the label without removing the label itself.
Pull Out Pantry Width?
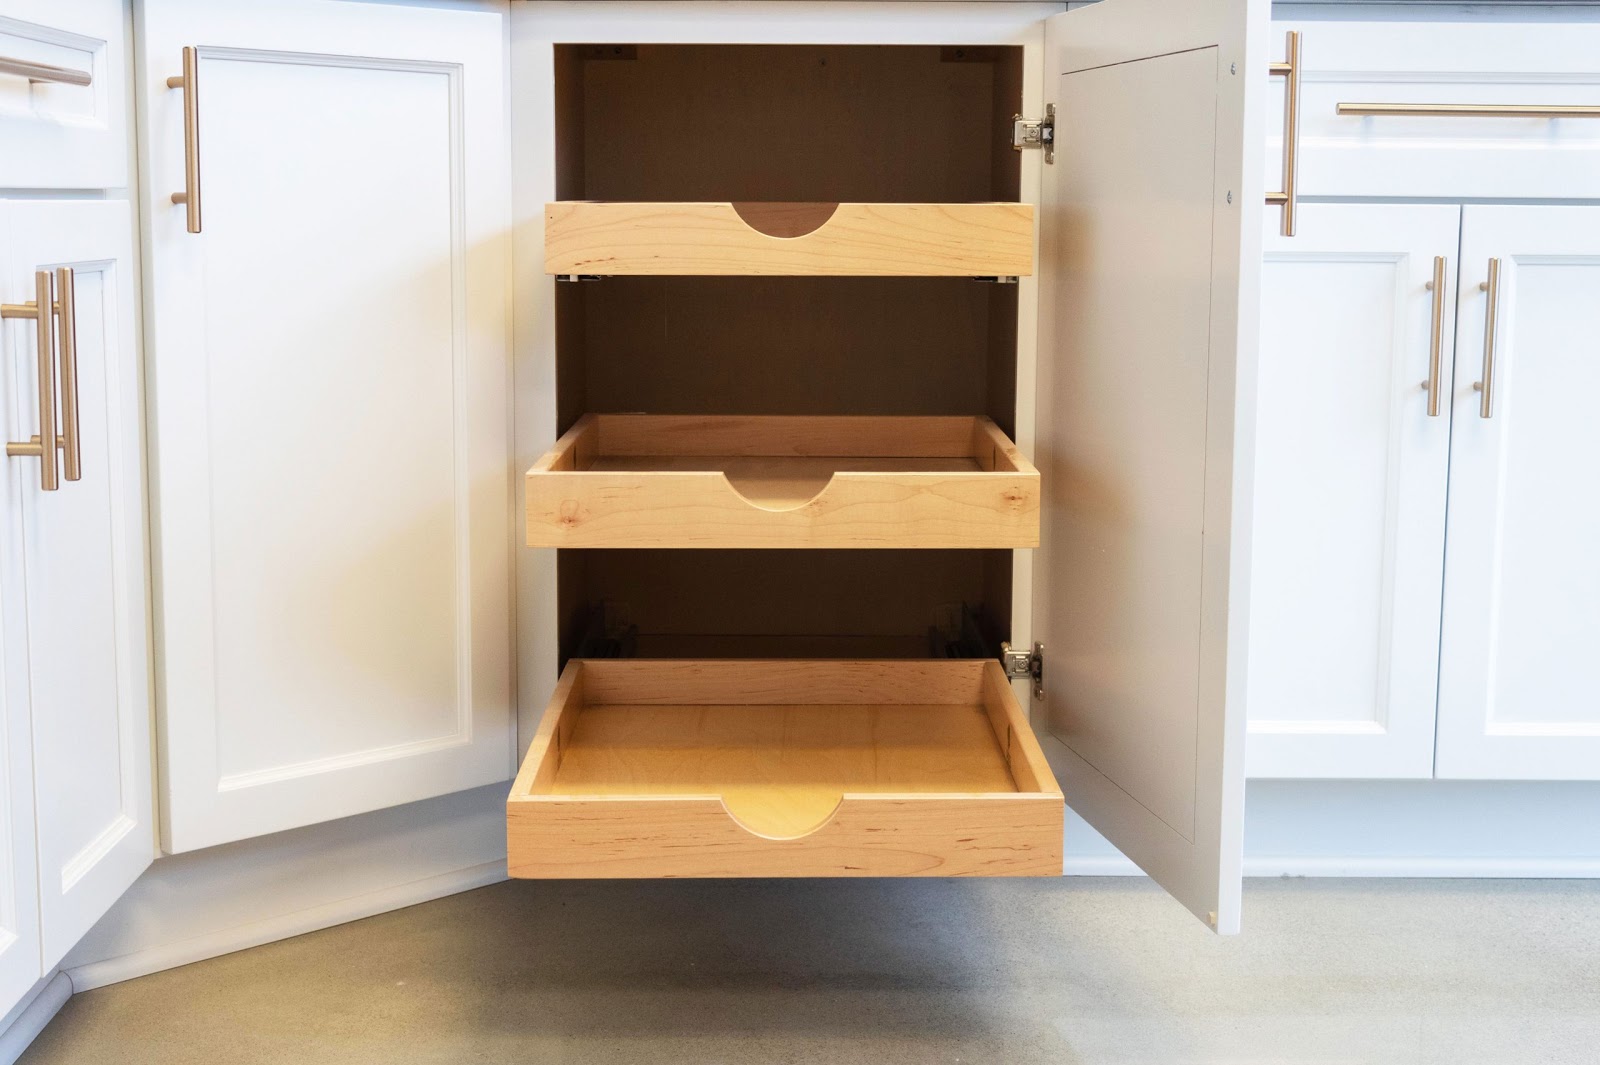
If it is viewable from both sides, its width can be 27 to 30 inches wide. If the cabinet is only accessible from one side, its depth should only go up to 16 inches. A pull-out pantry is a reach-in cabinet turned on one of its ends and had cabinets inserted. There is a door panel attached to its front, therefore, operating as a large drawer. These must-have kitchen inventions are designed to increase storage space. Having soft-close slides or ball-bearing slides ensures that the drawer can accommodate huge amounts of weight.
Tips in Maximizing pull out pantry shelves at home
Accessories are the best way to maximize your shelf space; the following are some tips to ensure you’re not under-utilizing your shelf area:
- Use Shelf Dividers: Large flat items will be more accessible when stored on their sides than stacking them on top of each other. Make use of small spring rods to divide items in between yourselves. You can also purchase a wire organizer which is easy to install and easily removable when there’s a need to repurpose the shelf.
- Try out Some Pegboards: A pegboard is a great way to utilize an empty wall in the house. The boards are designed to collect pans, pots, colanders, among other instruments. Such items take unnecessarily large amounts of shelf space that you could maximize on with other items. Pegboards are easy to mount and are a great way to free such shelves from under-utilization by these items.
- Baskets: Baskets are a great way to keep the small items organized. Stash your seasoning envelopes into one. Loose bags of snacks also tend to get jumbled up by the time they’ve been halfway eaten; gathering them up in a basket ensures that they remain neat and easily accessible. Baskets allow you to store loads of items together without seeming disorganized and cluttered.
- Under Shelf Baskets: Sliding an under-shelf basket to the existing pantry shelves adds another layer of storage. You can use the basket to store bread to keep it from getting squashed, hold plastic wraps and foils to free them from disappearing in the shuffle, or neatly store small collected items.
- Can organizers: Cans come in various sizes and can be quite troublesome to keep visible and stack when large quantities. A pantry organizer is an easy and affordable way to store the cans while preventing the solid ones from toppling over.
- Adjustable Shelving: Mounting adjustable shelving is a great way to maximize your pantry usage. While installing an adjustable system grants you the flexibility to change and vary the height of all your storing ideas. Adjustable shelves also give you full extension capabilities to maximize every inch of space you have. Any change in your itinerary can easily be attended to by sliding out the shelve and placing it in the appropriate position.
Where should the pull out pantry be placed in the kitchen?
A Kitchen pantry should be placed in the handiest location, which would then be the primary kitchen work zones. So, your search for the perfect pantry unit spot begins by figuring out your working zones in the kitchen, i.e., the sink, oven, cooktop, and fridge. Ideally, there should be plenty of storage left within this zone for an appropriately sized cabinet and pantry system. Refrain from placing it too close to the door, then open the fridge door to ensure that the pantry’s location does not inhibit the use of the fridge.
If you are into a minimalist style approach to your kitchen or do not have as much storage area for a large cabinet is getting a pull-out pantry. The unit will have neat pantry cabinets that provide additional storage without having to cluster your working zone.
What to do when there’s no pantry in the kitchen?
When you have no pantry in your kitchen, you could either maximize your cabinet space or build your pantry.
Maximize Your Cabinet Space:
There is a lot you can do with the proper accessories to maximize your cabinet width.
- Rollout trays are a great way to make the hard-to-reach items more accessible. They are perfect for lower cabinets for your pans and pots.
- Organize cabinets with cabinet dividers: Cabinet dividers allow you to any cabinet openings for multiple items organized neatly in sections; this is especially great for any cabinet without a door.
- Cutlery dividers: Cutlery dividers are perfect for messy cabinet drawers. You can install them in the cabinet drawers and organize your spoons, knives, and forks there. This way, once you slide out the drawer, all the cutlery is neatly organized at your display.
- Full and pie cut trays: Pantries often outweigh cabinets when it comes to easy access to items. Placing full and pie cut trays eases this by making instruments accessible by sliding out these trays to the front. They are perfect for the heavy foodstuffs that are often troublesome to keep moving around.
- Pull out cabinets: section your cabinet with any of the above dividers and transform any basic cabinet drawer into a multi-storage unit.
Make A Rolling Pantry.
Another solution is conducting a simple construction yourself. A rolling pantry would, in this case, be a better option for functionality. How do you make a rolling pantry? Search for a design online and then begin your easy construction process through a few hardware items and the following steps:
Step 1: Draw up the plans to determine exactly how much wood you will require and establish a face frame. You can use the height and depth of your fridge as a referral. Once you do, measure and cut the pine planks you’ll need for the frame, then measure and cut out the shelves.
Step 2: Use squares to build the frame; affix the frames together using wood glue and screws (you can find these tools at any local hardware store).
Step 3: Measure and mark each shelf’s area, make strips of wood, and screw them below each marked area at either side within the inner frame. Once you have completed this stage, the shelf can rest on the supports and be removed. That way, you can pull to access the items at the back too. Screw in the middle shelf and secure it further with the nails.
Step 4: Formulate an organization system and base the height of your shelf following how tall your storage containers and typical foodstuff are. The bottom slide, for instance, could be used to hold the tallest of these items. Since you’re the organizer, you can change this system as frequently as you may need in accordance with changing needs.
Step 5: Stencil the white side of your masonite to use for the back part. Plywood can work too, but the material would add extra weight to the complete structure. A masonite will ensure the structure is as light as possible, and you can have it cut to meet your size requirements at the hardware store if you lack the tools to do so.
Step 6: Attach four casters (wheels) to the bottom using wood screws. You can find casters at any hardware shop near you. The casters are what change the functionality of a rolling pantry. Layering up the bottom plank on the frame ensures that the screws used for mounting the casters don’t pop up for too long.
Step 7: Before painting, you’ll need to fill all the wood and nail holes with paintable wood filler, which you can also find at a hardware store. Account for every hole you filled with the wood filler to ensure you attain a smooth finish on painting.
Step 8: Prime your wood with stain-blocking primer and paint your wood to match your kitchen’s features, color, and style.
Before beginning your process, make a window-shopping trip to the hardware store, create an inventory of all the things you might need during your process. Write a budget in accordance with the hardware prices. Feel free to shop around several stores in search of friendlier prices. If you are on a tight budget, feel free to cancel out tools you can improvise on at home. Use your final list to make your shopping trip to the hardware store.
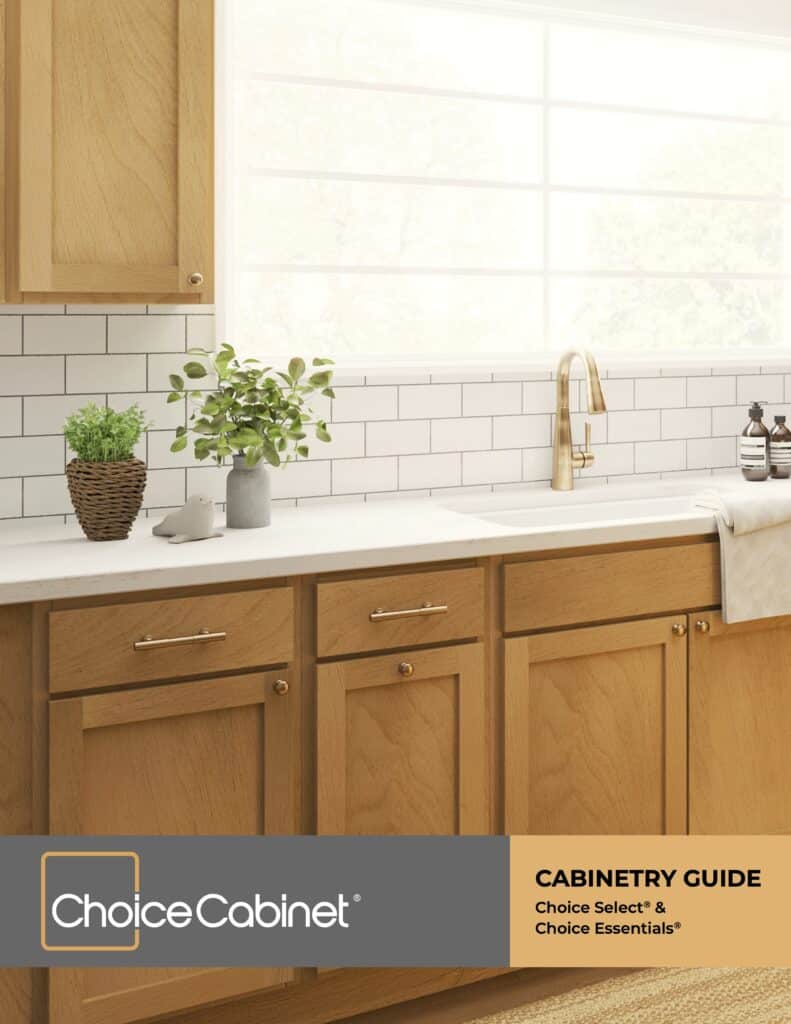
Shop for Your pull out Pantry and other storage solutions at Choice Cabinet
Shop for all your storage solutions at Choice Cabinet and enjoy not just a storage brand but elegant additions to your home too.
Choice cabinet prides itself with a great array of storage features, from cabinets to vanities, storage, and accessories designed to satisfy every customer’s needs. The quality versus price point for the items at Choice Cabinet makes them a great deal for families. We encourage our customers to visit our website and search for their preferred storage solution from our inspiration gallery.
Enjoy consistency, on-time complete shipments, and prompt customer service. Call, email, or visit us today at 4856 Richmond Road Warrensville Heights, Ohio 44128 between 9 am and 5 pm.